How to Make a Plastic Bag Holder Easy
DIY plastic bag dispenser and holder. A no sew project. This is a great way to create storage for your plastic grocery bags and have them easily accessible and ready to use when you need them. This shop has been compensated by Collective Bias, Inc. and its advertiser. All opinions are mine alone. #CollectiveBias
Learn how to make a plastic bag dispenser!
Or, buy one of these cool looking ones, they even have two packs.
If you need to store plastic bags in a homemade dispenser, this DIY plastic bag holder is super simple to make and you don't even need to sew at all!
Make this plastic bag dispenser DIY project with ease, follow the tutorial below!
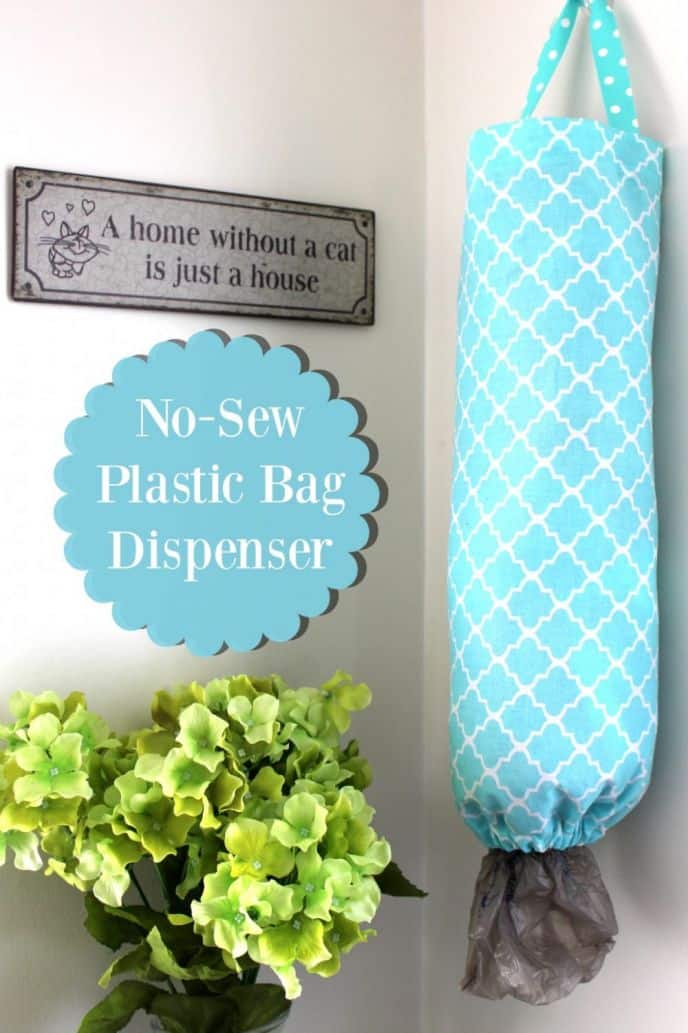
Make your own DIY no-sew plastic bag dispenser.
This tutorial will walk you step by step through the process of making your own plastic bag organizing dispenser.
If you're like us, you use plastic grocery bags for many different things, including scooping the litter box.
Currently, our plastic bags are all shoved into a cabinet.
We've literally lost an entire cabinet to plastic bags and it's time to make a DIY plastic bag dispenser!
Plastic Bag Dispenser
Turbo, our cat, is taking center stage on the blog this week! We're not talking about the most glorious topic, and believe me, I know.
We adopted Turbo about 3 years ago, and I was unsure about getting a cat at all, but Katie wanted another Munchkin cat, and how can I say no to her?
Since we use plastic grocery bags for cleaning the litter box, I've decided that they should no longer be stuffed into a kitchen cabinet.
I'm going to make a DIY plastic grocery bag dispenser!
Plastic Bag Holder DIY
We'll need only a few things to make a no-sew plastic bag dispenser.
I opted for a no-sew, but you can just as easily sew this together. Just sew where we glue.
Materials
- Fat quarter of fabric (18″x22″ fabric)
- Knit elastic
- Ribbon
- Fabric glue
Instructions
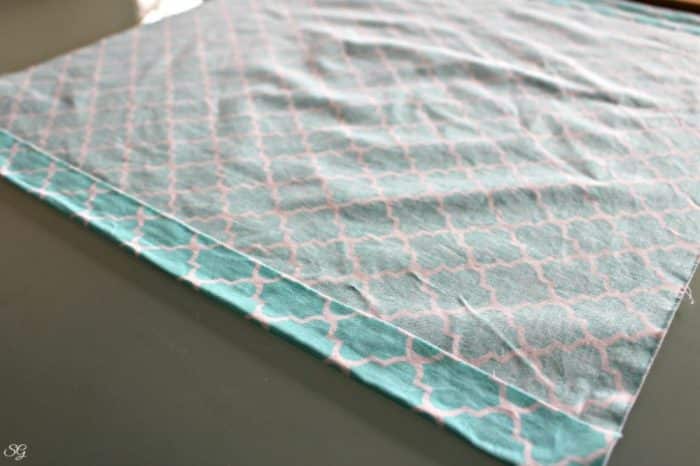
Step 1
Lay your fabric on the table, wrong side up. Fold and crease both the bottom and top edges at about 2 inches each. Cut a small square from the bottom corner of your fold. This will overlap to cover the elastic band later on.

Make sure you have enough room on the bottom edge for your elastic to be fed through comfortably.
Secure the folds with glue.
For the bottom edge, only glue the very edge and leave plenty of room to slip your elastic through. You can glue the entire top folded edge.
Allow these two folds to dry according to the directions on the glue package. Mine was 30 minutes. (I didn't wait that long. I only waited long enough for the glue to set and gently moved along.)
Step 2
Turn the bag dispenser over, right side up. Fold one edge over and apply a bead of glue to one side edge, fold the other side over and stick it to the glue.
Press with your fingers and allow the glue to dry. Feel free to face glue it if you'd like, either way works well.
Note: Leave an inch or so unglued on the bottom in order to feed your elastic through. We can secure this once our elastic band is in.

Step 3
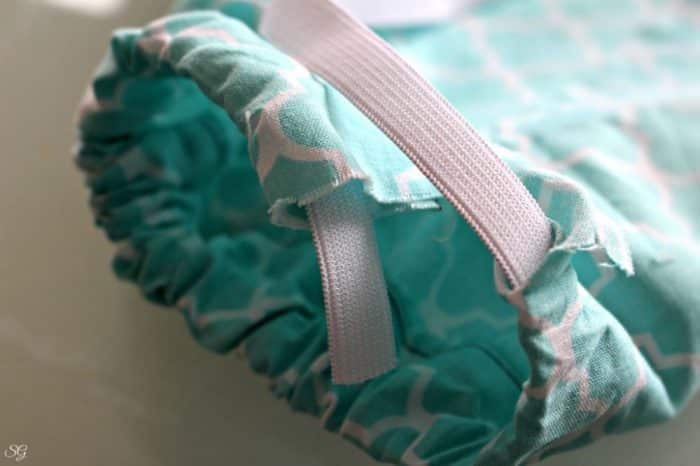
Once this seam is dry, flip the plastic bag dispenser right side out and shimmy the elastic through the bottom fold.
Ruffle the fabric and figure out where you'd like to cut your elastic. A 5 to 6 inch band of elastic should be enough. Add an extra inch or so for gluing the elastic securely.
TIP: You want the hole to be large enough to comfortably remove bags, but not so large that the plastic bags will fall out.
I know that our plastic bag dispenser will get a lot of use, and I have never used this particular fabric glue before, so I decided to add a staple along with the glue to make sure the elastic doesn't go anywhere for a very long time.
Once you've secured the elastic, glue the rest of the seam down (remember we left an inch or two not glued for the elastic band).

Step 4
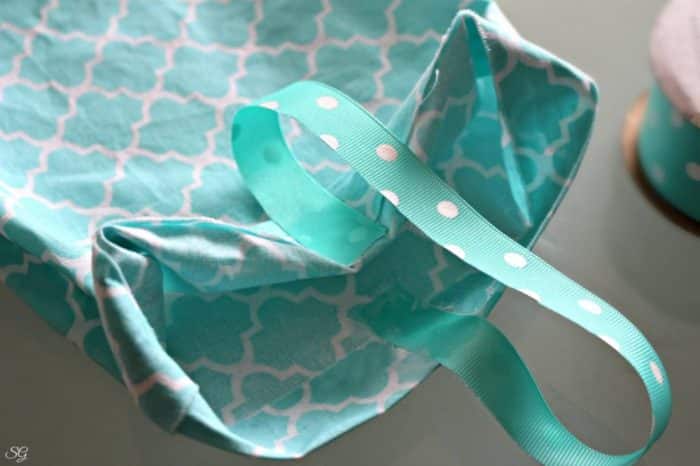
Cut the ribbon you've chosen for the hanger between 12 and 14 inches long, attach to the inside of the bag using fabric glue.
Oh! Wait a minute! Turbo has decided to come help… Aah! Watch your toes Turbo!!
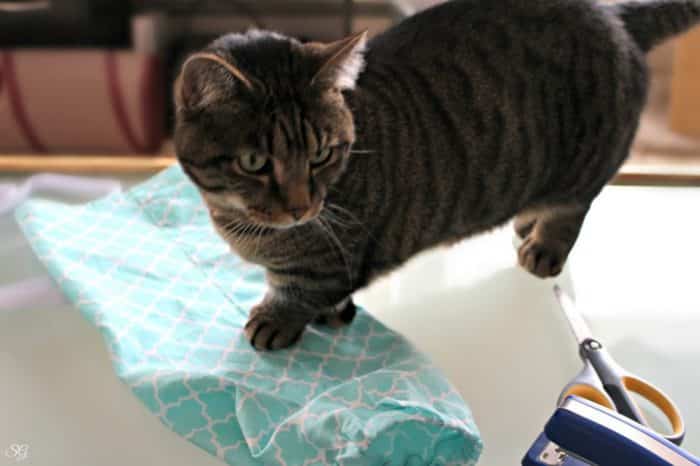
Okay, now that Turbo has gone to take a nap, we can continue and attach the ribbon hanger to the inside of the bag.
Just glue it in there with your fabric glue. Line it up so you have one end of your ribbon attached to one side, and directly opposite, you'll attach the other side.
Pro Tip: Be sure to situate the ribbon so the bag's seam will be on the back when hanging. This means to glue the ribbon at about 1/2 way around the bag on either side, with the seam in the back.
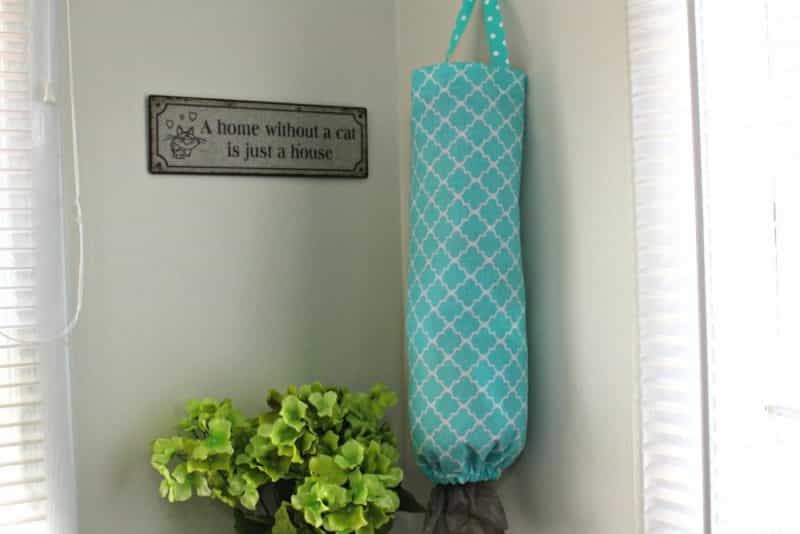
Once all the glue is dry, you're ready to hang your DIY no sew plastic bag dispenser and stuff it with plastic bags!
If you want to buy one instead of making one..check these out!

This won't make cleaning the litter box any more glamorous, but it will take care of the plastic bag mess which lurks under all of our cabinets!
You might also like:
- Sewn Plastic Bag Holder
- Small Storage Bins Upcycle Project
How do you keep your litter scoop plastic bags organized?

-
Scissors
-
Fabric Glue
- 1 Fat quarter of fabric (18″x22″ fabric)
- 1 Knit elastic
- 1 Ribbon
-
Lay your fabric on the table, wrong side up. Fold and crease both the bottom and top edges at about 2 inches each. Cut a small square from the bottom corner of your fold. Secure the folds with glue. For the bottom edge, only glue the very edge and leave plenty of room to slip your elastic through. You can glue the entire top folded edge.
-
Turn the bag dispenser over, right side up. Fold one edge over and apply a bead of glue to one side edge, fold the other side over and stick it to the glue. Press with your fingers and allow the glue to dry. Feel free to face glue it if you'd like, either way works well.
-
Once this seam is dry, flip the plastic bag dispenser right side out and shimmy the elastic through the bottom fold. Ruffle the fabric and figure out where you'd like to cut your elastic. A 5 to 6 inch band of elastic should be enough. Add an extra inch or so for gluing the elastic securely.
-
Cut the ribbon you've chosen for the hanger between 12 and 14 inches long, attach to the inside of the bag using fabric glue.
Allow the fabric glue to dry before moving on to each consecutive step. Once you've completed your plastic bag storage holder and dispenser, you can hang it in your kitchen, laundry room, or whereever you need plastic bags the most.
Source: https://www.scrappygeek.com/diy-no-sew-plastic-bag-dispenser/
Post a Comment for "How to Make a Plastic Bag Holder Easy"